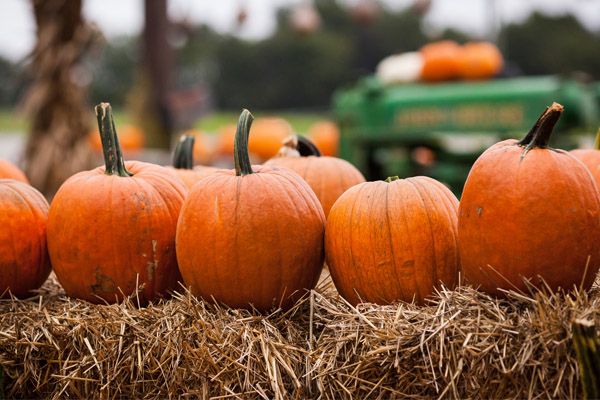
Make Your Pumpkins from Our Pleasanton Pumpkin Patch Last
Pumpkins are a classic fall decoration, bringing a warm, festive touch to homes and gatherings. Whether you’re picking up your pumpkins from a Pleasanton pumpkin patch or finding the perfect ones at Dublin fall events, you’ll want them to last as long as possible through the season. While pumpkins are naturally durable, they can deteriorate quickly without the right care. Here’s a guide on preserving your pumpkins so you can enjoy them throughout fall and into the holiday season.
Step 1: Start with Healthy Pumpkins
The first step to long-lasting pumpkin décor is to choose pumpkins that are in good condition. At the best pumpkin patch in the Bay Area, you’ll find a variety of shapes and sizes, but regardless of which ones you choose, ensure they are free from bruises, cracks, or soft spots. Healthy pumpkins are less likely to rot quickly and are better candidates for long-lasting décor. Be sure to pick pumpkins that feel firm and look vibrant—signs of a fresh, high-quality pumpkin.
Step 2: Clean Your Pumpkin Thoroughly
Cleaning your pumpkin can help prevent early decay by removing dirt, bacteria, and fungal spores. To clean, use a mixture of one tablespoon of bleach per gallon of water and gently wash the pumpkin with a cloth or sponge. After cleaning, allow the pumpkin to dry completely. This step is especially useful for carved pumpkins, as the bleach solution can help disinfect cuts, preventing mold and mildew growth. A thorough cleaning will help extend the life of your pumpkins, allowing them to look beautiful longer.
Step 3: Seal the Pumpkin’s Skin
Applying a protective coating to the outside of your pumpkin helps to keep moisture out, slowing down decay. You can use a variety of household items for this purpose. Petroleum jelly, vegetable oil, or even a craft spray sealant can provide a barrier that preserves the pumpkin’s skin. For best results, apply a light, even layer of your chosen sealant over the entire surface of the pumpkin. This step works wonders for both carved and uncarved pumpkins, as it helps to keep the elements out and prevent premature rotting.
Step 4: Display in a Cool, Dry Place
Once your pumpkin is prepped, be mindful of where you place it. Direct sunlight, rain, and high humidity can accelerate rotting, so try to keep your pumpkins in a shaded, well-ventilated area. Indoors or in a covered entryway are ideal locations for long-lasting pumpkin décor. Pleasanton and Dublin fall events often showcase pumpkins in shaded, cool areas to preserve their appearance, and you can do the same at home.
Step 5: Refresh Carved Pumpkins Regularly
If you’ve carved your pumpkin, it may need a bit of extra care to last through the season. To keep carved pumpkins fresh, mist the inside and carved edges daily with a water and bleach mixture (the same 1 tablespoon bleach per gallon of water). You can also soak the entire pumpkin in cold water overnight if it starts to wilt. This rehydrates the pumpkin, helping it retain a fresh look for longer. Be sure to dry the pumpkin completely before placing it back on display.
Find Your Perfect Pumpkins at the Best Patch in the Bay Area
With the right preservation techniques, your pumpkins can stay vibrant and festive well beyond Halloween and Thanksgiving, adding charm to your fall décor all season long. For more information on our Fall festival, pumpkin patch, and Christmas tree farm, contact K-R Farms here.

